

Key Takeaways
Why Composting Is Worth the Effort
Composting is the process of allowing organic materials — food scraps, yard trimmings, and plant matter — to decompose into a dark, crumbly soil amendment sometimes called humus. When worked into garden beds, finished compost improves soil texture, feeds beneficial microorganisms, and reduces the need for synthetic fertilizers. It also keeps usable organic material out of landfills, where it would otherwise produce methane as it breaks down without oxygen.
For families already growing vegetables or tending flower beds, compost is a practical investment. It costs little beyond the initial setup and generates a steady supply of amendment from waste you're already producing. Our guide to soil health explains in detail how organic matter improves the physical and chemical properties of garden soil — compost is one of the most accessible ways to add it.
What you will need
What to Add — and What to Leave Out
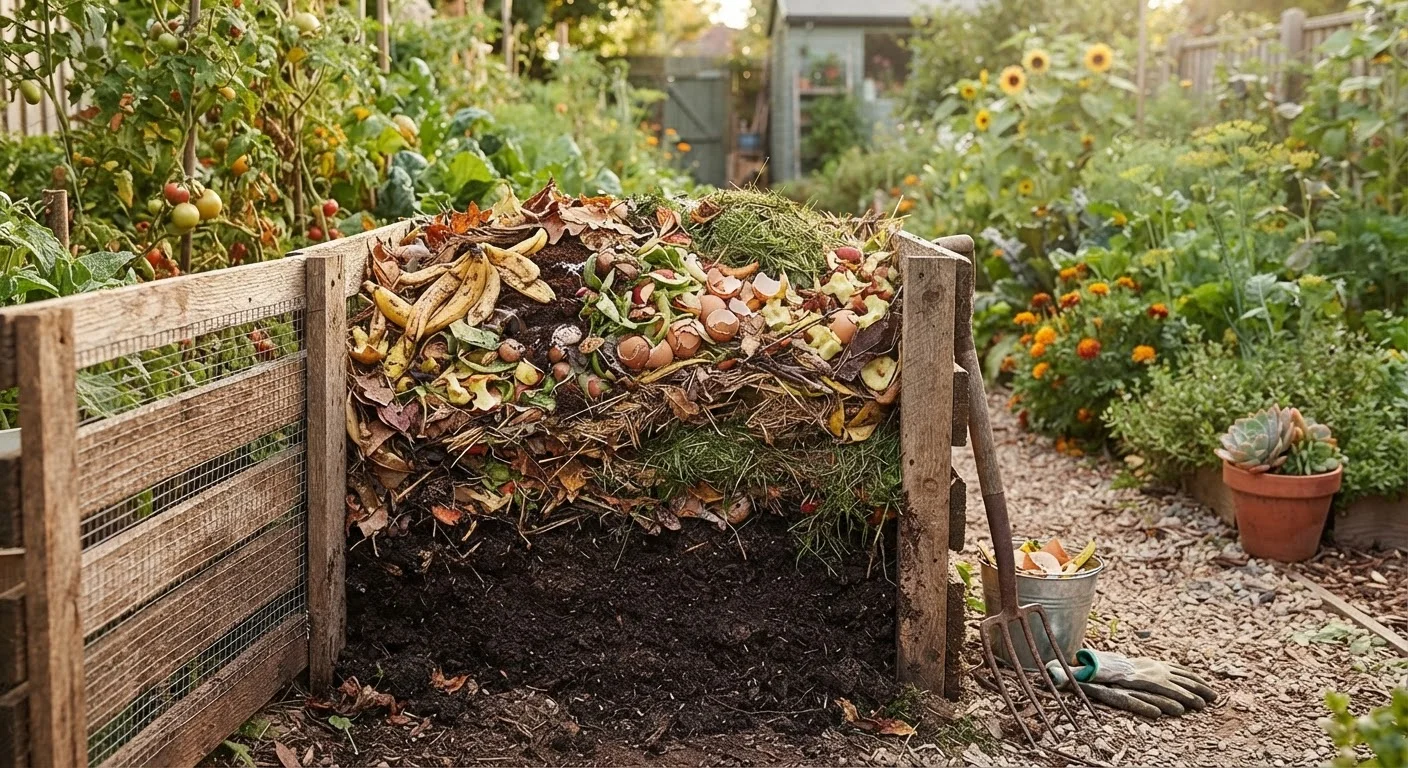
A healthy compost pile depends on the right mix of materials. Think in terms of two categories:
- Browns (carbon-rich): dried leaves, cardboard torn into small pieces, straw, paper bags, wood chips, and sawdust from untreated wood.
- Greens (nitrogen-rich): fruit and vegetable scraps, coffee grounds, tea bags without staples, grass clippings, and fresh plant trimmings.
A general guideline is roughly three parts browns to one part greens by volume. Too many greens and the pile turns slimy and smells; too many browns and decomposition slows significantly.
Keep Diseased Plants Out of the Pile
Home compost piles don't always reach temperatures high enough to destroy fungal spores or bacterial pathogens from diseased plant material. Adding infected leaves or stems risks spreading the problem to next year's beds. Bag diseased plant matter for municipal yard waste pickup instead.
Avoid adding meat, fish, dairy products, oily foods, pet waste, or diseased plants. These can attract pests, introduce pathogens, or create persistent odors that make backyard composting unpleasant and less effective.
Setting Up Your Compost System
You don't need elaborate equipment to compost successfully. A simple open pile works, though a contained bin helps retain moisture and discourage wildlife. Options include wooden pallet bins, wire mesh cylinders, or purchased plastic tumblers. Site your pile in a location that is convenient to reach year-round — ideally with partial shade to slow moisture loss in summer.
If you're working toward a productive vegetable garden, composting fits naturally into the planning process. Our vegetable garden starter guide covers how to prepare beds ahead of planting season, where finished compost plays a key role.
Compost bin or wire mesh cylinder
Contains the pile, retains heat and moisture, and discourages wildlife access.
Pitchfork or compost aerator
Used to turn and mix the pile, introducing oxygen to speed decomposition.
Kitchen compost pail
Holds food scraps on the counter between trips to the outdoor bin.
Garden thermometer
Measures internal pile temperature to confirm active decomposition is occurring.
Choose and prepare your composting site
Select a level spot that drains well and receives partial shade. Clear the area of weeds and grass. If using a bin, assemble it according to instructions; if building a freestanding pile, mark out at least a 3×3-foot footprint. This minimum size allows the pile to generate and retain enough heat for efficient decomposition.
Start with a base layer of browns
Add a 4–6 inch layer of coarse, carbon-rich material at the bottom — wood chips, straw, or torn cardboard work well. This base layer improves airflow from below and absorbs excess moisture as you add wetter materials on top.
Layer greens and browns alternately
Add a 2–3 inch layer of nitrogen-rich greens (food scraps, fresh clippings), then cover with an equal or thicker layer of browns. Continue alternating layers as you collect materials. Bury food scraps in the center of the pile rather than leaving them on the surface to reduce odor and pest interest.
Maintain moisture and aeration
The pile should feel roughly as moist as a wrung-out sponge. Check it weekly; if it feels dry, add water with a hose or watering can. Turn the pile with a pitchfork every one to two weeks, moving material from the outside edges into the center where temperatures are highest. This introduces oxygen and promotes even breakdown.
Harvest and apply finished compost
After two to six months (depending on materials, conditions, and how often you turn the pile), the bottom layers should yield finished compost — dark, crumbly, and earthy-smelling. Use a garden fork or screen to separate finished material from any chunks still breaking down. Return unfinished pieces to the active pile and work the finished compost into beds at a rate of 1–3 inches per application.
Troubleshooting and Using Finished Compost
Even well-managed piles run into occasional problems. A sour or ammonia smell usually means the pile is too wet or too heavy on greens — add dry browns and turn the pile. If decomposition has stalled entirely, the pile is likely too dry; water it lightly and mix. Pest interest often means food scraps are sitting on the surface; bury them beneath a layer of browns each time you add kitchen waste.
Finished compost looks and smells like rich earth — dark brown, crumbly, with no recognizable original materials remaining. Work 1–3 inches into garden beds before planting, or use it as a top dressing around established plants. It pairs well with other soil-building practices; see our mulch types guide for how surface mulch and compost can complement each other in the same bed.
Combine Compost with Cover Crops
For garden beds that sit empty over winter, planting a cover crop such as clover or winter rye and then tilling it under in spring works alongside compost to rebuild organic matter. The two practices together can meaningfully improve soil structure over a single growing season.
Once composting becomes routine, it integrates naturally into weekly yard maintenance. The result — a consistent supply of amendment produced from your own household waste — supports healthier plants with less outside input over time.