

Key Takeaways
Start here
What the Project Actually Involves
Next
Wall Prep: The Step Most Beginners Skip
Then
Setting the Tile
Almost there
Grouting and Finishing
Before you begin
Common Mistakes and How to Avoid Them
What the Project Actually Involves
A backsplash installation is one of the more achievable kitchen upgrades for a prepared homeowner — but it's rarely as simple as sticking tiles to a wall. The project spans four distinct phases: wall preparation, layout planning, tile setting, and grouting. Each phase has its own materials, dry times, and potential points of failure. Understanding the full sequence before you buy a single tile will help you plan realistically and avoid costly do-overs.
Before diving in, it's worth reading up on the hidden costs of DIY home improvement projects, since tool rentals, backer board, and extra tile for cuts can push your budget higher than the tile price alone suggests.
Thinset mortar
A cement-based adhesive mixed with water (or a latex additive) used to bond tile to a wall or floor surface. It provides a strong, water-resistant bond once fully cured.
Backer board
A rigid, moisture-resistant panel made of cement or fiberglass mat used as the substrate behind tile in wet or humid areas, replacing standard drywall.
Grout float
A flat, rubber-faced hand tool used to press grout into the joints between tiles and spread it evenly across the surface.
Tile spacers
Small plastic crosses or T-shaped pieces inserted between tiles during installation to maintain uniform joint width throughout the pattern.
Penetrating sealer
A liquid product applied to grout after curing that soaks into the surface to resist staining and moisture without changing the appearance of the grout.
Substrate
The surface or base layer to which tile is adhered. A sound, stable substrate is essential for tiles to bond correctly and stay in place over time.
Wall Prep: The Step Most Beginners Skip
The longevity of any tile installation depends almost entirely on what happens before a single tile goes up. Start by turning off power to any outlets or switches in the work area at the breaker. Remove outlet covers and switch plates and set them aside.
Inspect the existing wall surface. Standard drywall is not an appropriate substrate in kitchen areas prone to splashing or steam — cement board or a moisture-resistant backer board should be used instead, particularly within 18 inches of the sink. If you're replacing an old backsplash, use a putty knife and oscillating tool to remove the old tile cleanly, then assess whether the underlying wall needs patching or full replacement.
Once the substrate is sound, lightly sand any glossy surfaces and clean the wall thoroughly with a degreaser. Kitchen walls accumulate cooking residue that will prevent adhesive from bonding correctly. Allow the wall to dry completely — at least 24 hours — before applying any thinset or mastic.
Electrical Work Near the Backsplash
Adding backer board to the wall can increase its depth by up to half an inch, which may require outlet extenders to bring electrical boxes flush with the new tile surface. This is a common and simple adjustment, but it does involve working near electrical components. Always turn off the relevant circuit at the breaker panel and, if you're uncertain about any electrical work, consult a licensed electrician.
Setting the Tile
Layout planning happens before the first tile is pressed to the wall. Find the center of your work area and use a level to draw light pencil guidelines — horizontal and vertical. This reference grid ensures your pattern stays straight across the full run, which matters especially at corners and edges where cuts will be visible.
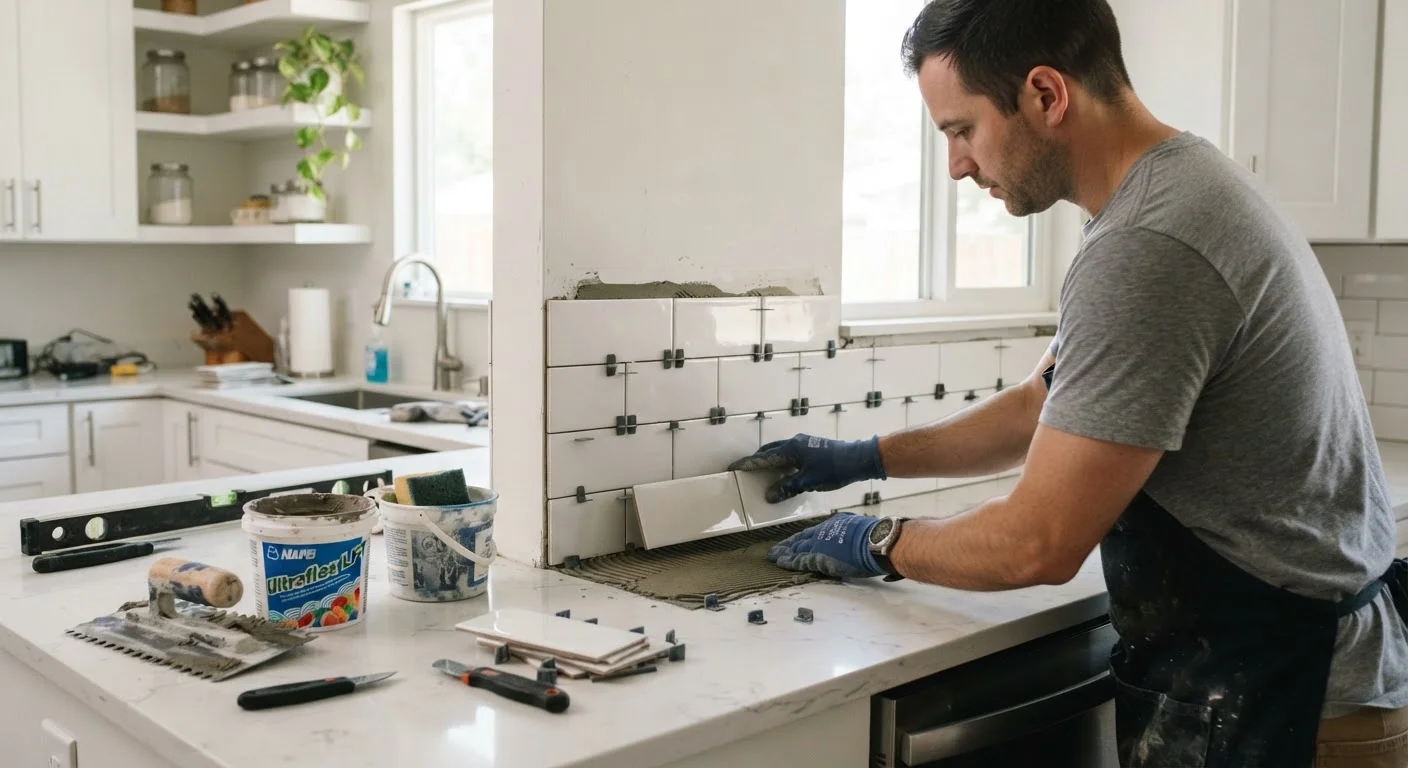
Mix your thinset mortar according to package directions, aiming for a peanut-butter consistency. Apply it to the wall in small sections using a notched trowel, holding the trowel at roughly a 45-degree angle to create uniform ridges. Press each tile firmly into the thinset with a slight twist to collapse the ridges and maximize contact. Insert plastic tile spacers at each corner to maintain consistent joint width.
Work outward from your centerline, saving cut tiles for edges and corners. Use a wet saw for straight cuts and a tile nipper or grinder for curves around outlets. When all tiles are set, allow the thinset to cure fully — typically 24 hours, though always follow the manufacturer's guidance. Do not grout early; uncured thinset can shift tiles and weaken the bond.
Do a Dry Layout Before You Commit
Before applying any thinset, lay out a full row of tiles on the countertop to visualize how the pattern will land at the edges and corners. This reveals whether you'll end up with awkward slivers of tile at the ends — a common issue that's easy to fix by shifting your starting point by a few inches. Spending 20 minutes on a dry run can save hours of recutting later.
Grouting and Finishing
Once thinset has cured, remove all tile spacers and mix your grout to a smooth, lump-free consistency. Apply it with a rubber grout float held at a low angle, pressing the grout diagonally across the tile faces and into the joints. Work in sections of about four to five square feet at a time.
After about 10–15 minutes, when the grout begins to firm slightly, use a damp sponge to wipe the tile faces in a circular motion. Rinse the sponge frequently and avoid over-saturating the joints. A thin haze will remain on the tile surface — once the grout is fully cured (typically 24 hours), buff this off with a dry cloth.
Apply a thin bead of caulk — not grout — along any inside corners and the joint where the backsplash meets the countertop. These areas flex slightly with temperature and movement; caulk accommodates that flex without cracking. Finally, once grout is fully cured, apply a penetrating grout sealer to protect against staining and moisture infiltration. For ongoing maintenance guidance, see our article on why grout fails and how to regrout.
Common Mistakes and How to Avoid Them
Most backsplash problems trace back to a handful of recurring errors. Skipping the degreasing step is at the top of the list — even walls that look clean often carry an invisible film of cooking grease that prevents proper adhesion. A thorough cleaning with a dedicated degreaser is non-negotiable.
Using the wrong trowel notch size is another common issue. Larger, heavier tiles need a deeper notch to create enough contact area; using a small-notch trowel on large-format tiles leads to hollow spots and eventual cracking. Check the tile manufacturer's recommendations and match your trowel accordingly.
Grouting too soon is perhaps the most tempting shortcut and the one most likely to cause early failure. Thinset needs full cure time to achieve its rated strength. Pressing grout into joints before that happens can shift tiles and compromise the bond underneath.
Finally, don't neglect the countertop-to-backsplash joint. Many first-timers fill this seam with grout, only to find it cracked within months. Caulk is always the correct material for that transition. Unlike painting a room where prep mistakes are correctable with another coat, tile work is largely permanent once set — getting each phase right the first time saves significant time and effort.