

Key Takeaways
The Step Most Beginners Rush: Surface Preparation
Walk-through videos make painting look like a pure color decision — pick a swatch, pour a tray, roll it on. What they compress into seconds is the preparation phase that separates a finish that holds for a decade from one that chips, bubbles, or shows every imperfection by spring.
Start by washing the walls. Grease, dust, and skin oils repel paint, causing adhesion failures you won't notice until weeks later. A solution of warm water and a small amount of dish soap, wiped down and rinsed, is sufficient for most rooms. Kitchens and areas near high-traffic doorways may need a stronger degreaser.
After washing, inspect for cracks, nail holes, and dents. Fill small holes with lightweight spackle; use a setting-type compound for larger voids. Sand smooth once dry — first with 120-grit, then 150-grit — and feather the edges so there's no raised ridge. Run your hand across the surface. If you can feel a patch, a finish coat will show it too.
Don't Skip the Stain-Blocking Step
Water stains, smoke damage, or grease spots require a shellac-based or oil-based stain-blocking primer before your standard primer and topcoat. Standard latex primer will not seal these stains — they will bleed through multiple finish coats. Apply the stain-blocker only to the affected area, let it cure fully, and then prime the entire wall as normal.
For rooms with significant surface damage, also consider sealing stains with a shellac-based or oil-based stain-blocking primer before applying your topcoat primer. Water-based paint over an untreated water stain will re-activate the stain and bleed through.
Primer: When It's Optional and When It Isn't
Many paint labels now say "paint and primer in one," which causes confusion. Those formulas work well on surfaces that are already painted, in good condition, and not changing dramatically in color. They are not a substitute for a dedicated primer coat in several situations:
- Fresh drywall or plaster: Unpainted surfaces are porous and absorbent. Without primer, your finish coat soaks in unevenly, producing a blotchy sheen called "flashing."
- Patched areas: Spackle and joint compound absorb paint differently than the surrounding wall. Even on a previously painted surface, bare patches need spot-priming before the topcoat.
- Dark-to-light or saturated color changes: A tinted primer matched to your finish color reduces the number of topcoats needed and prevents the old color from telegraphing through.
- Glossy existing surfaces: Paint bonds poorly to a slick sheen. Lightly sand and apply a bonding primer, or the new coat may peel.
Using the right primer is also where paint formula matters. See our guide on interior vs. exterior paint formulas to understand why product chemistry affects durability, not just coverage.
Tinted Primer Saves Topcoat
Ask your paint supplier to tint your primer to approximately 50–70% of your finish color when making a significant color change. This dramatically reduces how many finish coats are needed to achieve even, opaque coverage. It's a standard service at most paint counters and typically costs little or nothing extra.
Edge and Roll Technique That Eliminates Lap Lines
The most common complaint from first-time painters is visible brush strokes along the ceiling line or roller marks that show under angled light. Both come down to technique timing.
Cutting in: Use a 2- to 2.5-inch angled brush to paint a 2–3 inch band along ceilings, baseboards, and trim before rolling. Load the brush to about one-third of the bristle length, tap off excess, and use long, steady strokes rather than short scrubbing motions. Work one wall at a time — not the entire room — so the cut-in edge stays wet.
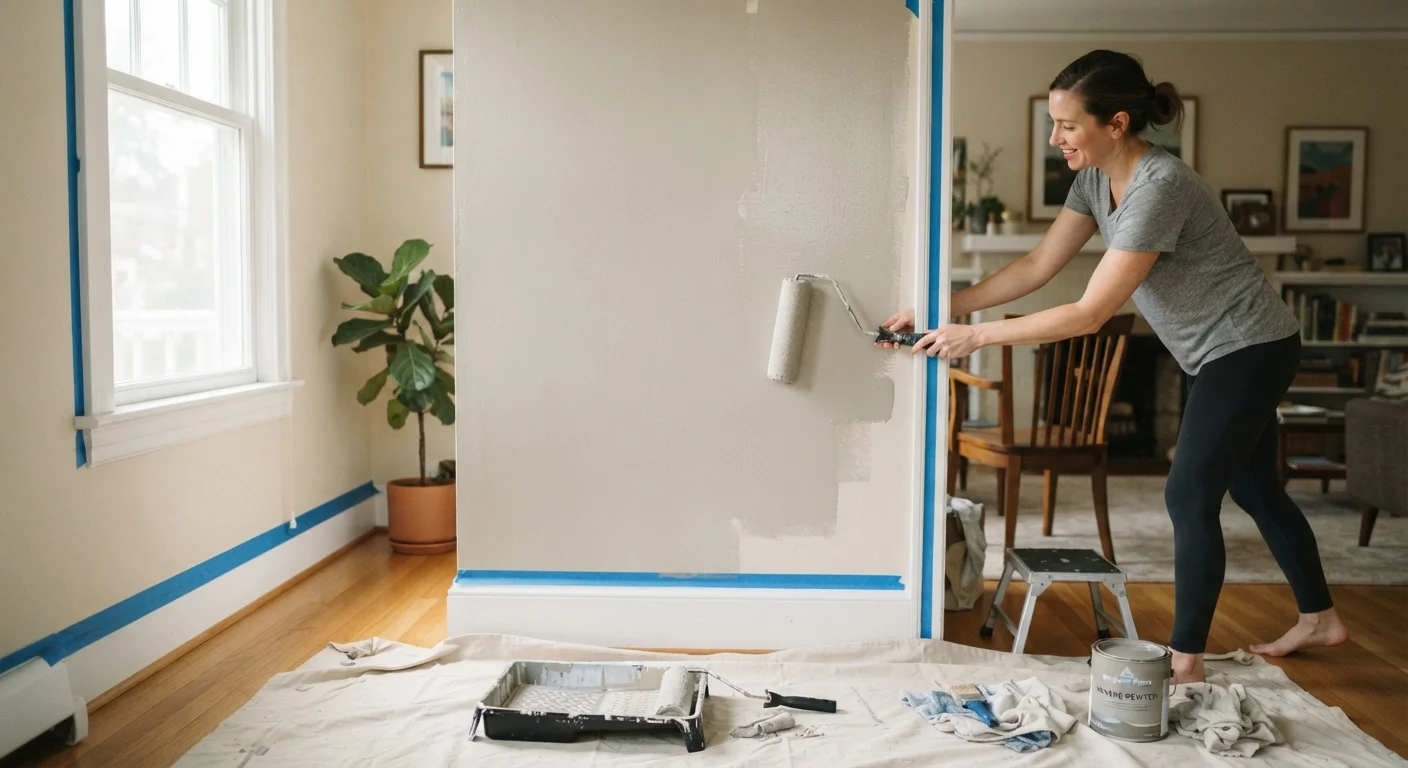
Rolling: While the cut-in section is still wet, roll the main wall area and bring the roller within a half inch of the cut-in band. This blends the two sections while both are open. If you let the brushed edge dry before rolling, the overlap will show as a distinct sheen line once dry.
Roll technique: Use a "W" or "M" pattern to distribute paint, then finish with light vertical passes — called back-rolling — to even out texture. Avoid pressing hard on the roller; that squeezes paint out the sides and leaves ridges.
Two coats applied this way will look more even than three coats applied carelessly. Allow full dry time between coats as specified on the can — rushing the second coat re-wets and disturbs the first.
Always wash walls before priming or painting, even if they look clean.
Invisible grease, dust, and residue break the bond between paint and surface. Adhesion failures — peeling, bubbling, and flaking — often trace back to skipped cleaning, not defective paint.
Spot-prime every repaired patch before applying your finish coat.
Spackle and joint compound are highly porous compared to the surrounding painted wall. Without spot-priming, those areas absorb the topcoat differently, creating dull or glossy patches visible under raking light.
Cut in one wall at a time and roll it immediately while the edge stays wet.
When a brushed edge dries before the roller reaches it, the overlap creates a sheen line that shows under direct or angled light. Working in wet sections eliminates that boundary.
Apply two thin coats rather than one heavy coat.
Thick single coats dry unevenly, sag on vertical surfaces, and often leave a rough texture. Two thin coats bond better, dry faster, and produce a more even sheen.
Match paint finish to the room's function and moisture level.
Using a flat finish in a bathroom or kitchen means frequent scrubbing will dull and damage the surface quickly. Overly glossy finishes in textured rooms highlight imperfections that a lower sheen would minimize.
Choosing the Right Finish for the Right Room
Paint sheen is a practical decision, not purely aesthetic. Each level of gloss affects washability, light reflection, and how forgiving the surface is of imperfections:
- Flat/Matte: Hides wall texture and surface flaws well. Low washability — best for low-traffic areas like adult bedrooms and formal dining rooms.
- Eggshell: A slight sheen with better durability than flat. A good all-purpose choice for living rooms and hallways.
- Satin: Noticeably smooth with good moisture resistance. Works well in family rooms, children's rooms, and high-touch areas.
- Semi-gloss: Reflects significant light and cleans easily. Standard for kitchens, bathrooms, and trim work.
- High-gloss: Most durable and washable, but amplifies every surface imperfection. Reserved for trim, doors, and cabinets in good repair.
Choosing a finish that's too flat for a kitchen or too shiny for a textured wall can undermine an otherwise careful paint job. If your walls need caulking at trim or window joints before painting, our guide on caulking around windows and doors covers surface prep and product selection in detail.