

Key Takeaways
Why Caulking Windows and Doors Actually Matters
A gap as narrow as 1/8 inch around a window frame is enough to let conditioned air escape, draw moisture behind your siding, and give insects a path indoors. Over time, heat loss through poorly sealed windows and doors is one of the more preventable energy drains in a home. Before caulking, it's worth doing a broader check — our room-by-room weatherization audit checklist can help you identify every draft point before you start sealing.
Caulk itself degrades. UV exposure, temperature cycling, and moisture cause older beads to crack, shrink, or pull away from the surface. Inspect your exterior joints every one to two years, and plan to recaulk wherever you see gaps, peeling, or discoloration.
Older Homes May Contain Lead Paint
Homes built before 1978 may have lead-based paint on window and door trim. Disturbing this paint during caulk removal can release hazardous dust. If you suspect lead paint, purchase a test kit from a hardware store before scraping, and follow EPA RRP (Renovation, Repair, and Painting) guidelines. When in doubt, consult a certified contractor.
For jobs that seem straightforward but involve siding materials, older homes with lead paint, or any structural joint, it pays to know your limits. See our guide on when DIY can do more harm than good before proceeding.
What You'll Need
Caulking requires only a handful of inexpensive tools, most of which you may already own. Gather everything before you start — stopping mid-job to find supplies is how mistakes happen.
What you will need
Caulk Gun
Provides controlled, even pressure to dispense caulk from the cartridge in a steady bead.
Utility Knife
Cuts away old, failed caulk from the joint and scores the cartridge tip for the right bead size.
Caulk-Removal Tool
Hooks and pulls away stubborn old caulk without gouging wood or vinyl trim.
Painter's Tape
Masks the edges of the joint so the finished bead has clean, straight lines.
Isopropyl Alcohol
Cleans residue and oils from the joint surface so caulk achieves a strong bond.
Step-by-Step: How to Caulk Windows and Doors
Follow these steps in order. Skipping surface prep or rushing the cure time are the two most common reasons a fresh caulk job fails within a season.
Remove all old caulk
Use a utility knife or caulk-removal tool to cut and pull away every trace of the existing bead. Work in short strokes along both edges of the joint — window frame against trim, trim against siding. Attempting to caulk over old material is the most common reason a new seal fails within months.
Clean and dry the joint thoroughly
Wipe the joint with a rag dampened with isopropyl alcohol to remove dust, grease, mold residue, and chalky old caulk particles. Allow the surface to dry completely — this typically takes 20–30 minutes, longer in humid conditions. Caulk applied to a damp surface will peel or bubble prematurely.
Choose and cut the correct caulk
For exterior window and door joints exposed to sun, rain, and temperature swings, choose a siliconized latex or 100% silicone caulk rated for exterior use. For interior trim joints that will be painted over, a standard paintable latex caulk is generally easier to work with and clean up. Cut the cartridge tip at a 45-degree angle, starting small — a 3/16-inch opening covers most residential gaps. You can always widen it, but you can't make it narrower once cut.
Apply painter's tape for cleaner lines (optional)
If you want crisp edges — especially on painted trim where smearing matters — run painter's tape along both sides of the joint, leaving just the gap exposed. Press the tape edges firmly so caulk can't seep underneath.
Apply the caulk bead
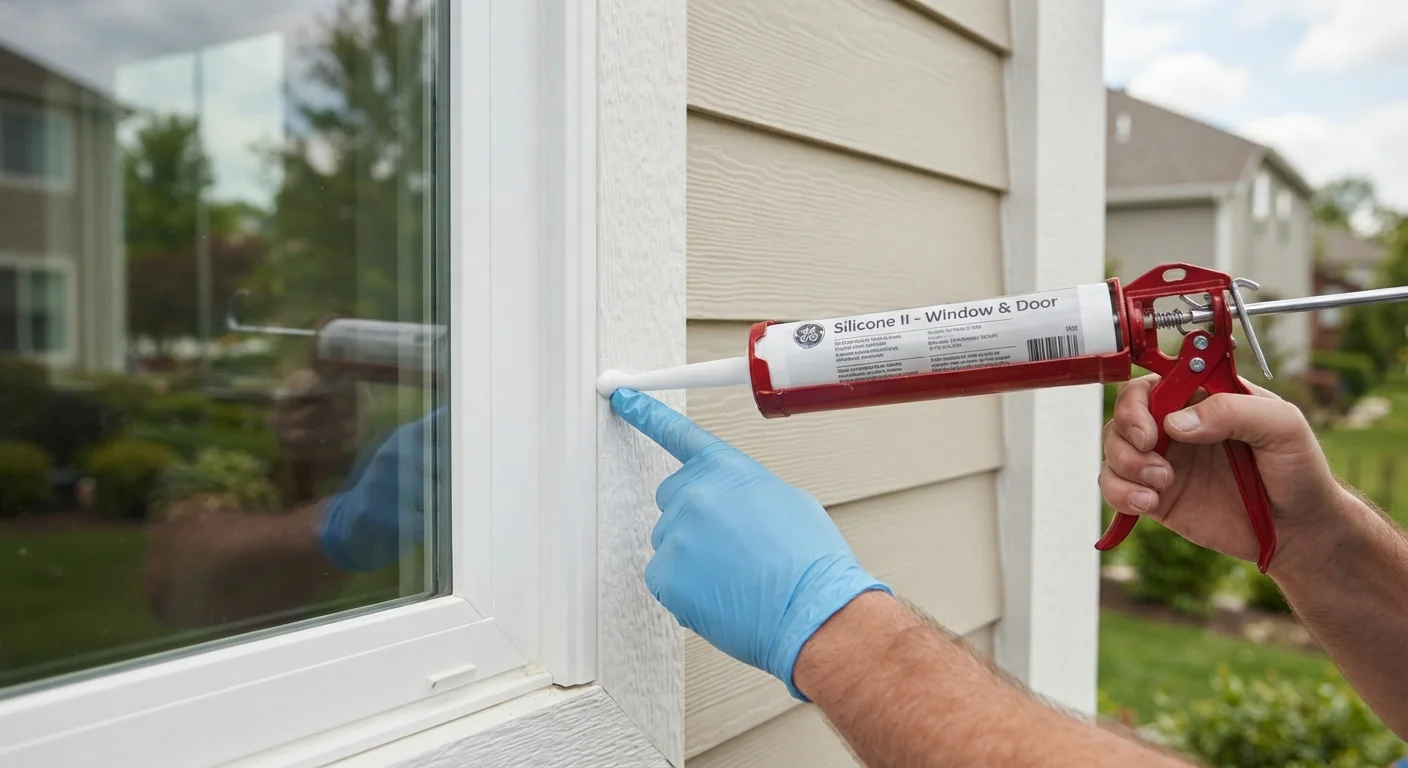
Hold the gun at a consistent 45-degree angle to the joint. Squeeze the trigger smoothly and pull the gun along the joint at a steady pace — aim for one continuous pass rather than several short ones. The bead should sit slightly proud of the surface so you have material to press into the gap when you tool it. Keep a rag in your other hand to quickly wipe the tip between runs.
Tool and smooth the bead
Within 60–90 seconds of applying the caulk, run a damp fingertip or a caulk-finishing tool along the bead in one fluid stroke. This presses the caulk into the gap for full adhesion and creates a concave, professional-looking surface. Have a damp rag ready to wipe excess off your finger between passes.
Remove tape and allow to cure
If you used painter's tape, pull it away immediately after tooling the bead, peeling at a low angle away from the joint. Allow the caulk to cure according to the manufacturer's guidance before painting over it or exposing it to rain — this is typically 24 hours for latex types, though silicone products vary. Do not rush this step.
Store Leftover Caulk Cartridges Correctly
Push a large nail or the cut tip back into the cartridge opening, then store it standing upright in a cool, dry location. Properly stored cartridges can remain usable for six months to a year. Write the date of opening on the cartridge so you know what you're working with next time.
Once the caulk is fully cured, this is a good moment to tackle any nearby painting or trim touch-ups — our guide on what weekend painting tutorials leave out covers the prep and edge work that makes a lasting difference.
Troubleshooting a Caulk Bead That Didn't Go as Planned
Even experienced DIYers occasionally end up with a bead that's lumpy, cracked, or lifting at the edges. Here's how to address the most common problems:
- Bead won't stick: Almost always a surface-prep issue. Remove the failed caulk, re-clean with alcohol, and reapply.
- Cracks appear after curing: The bead may have been stretched too thin across a wide gap. Use a backer rod to fill any gap wider than 1/4 inch before caulking.
- Bead looks wavy or uneven: Practice on cardboard to find a pulling pace that matches the cartridge flow, then re-do the run.
- Paint peeled off when tape was removed: The tape was left on too long and caulk hardened against the paint. For interior trim, proper edge technique prevents this when you repaint afterward.
Caulking is a forgiving skill — a failed bead is fixable in under an hour. The key is not to layer new caulk over a failed joint without removing the old material first.