

Key Takeaways
Why Grout Fails in the First Place
Grout is not a structural material — it fills joints, prevents debris from collecting between tiles, and, critically, helps manage water at the tile surface. When it fails, that last function breaks down entirely.
The most common culprits are movement and moisture. Buildings flex subtly as temperatures change and foundations settle. Grout, which is rigid once cured, can't absorb that movement indefinitely and develops hairline cracks. Those cracks then allow water in, which accelerates deterioration. In showers and around tubs, inadequate ventilation and constant wet-dry cycling speed this process considerably.
Poor original installation also plays a major role. Grout that was mixed too wet, applied over a dusty surface, or sealed too soon after application starts failing sooner than it should. If you're seeing widespread cracking within just a few years of installation, the original job likely had technique problems from the start.
Water Intrusion Behind Tile Is Serious
Failed grout in showers, tub surrounds, or kitchen backsplashes allows water to seep behind tiles and into wall assemblies. Over time, this leads to mold growth, substrate rot, and structural damage that is far more expensive to repair than a simple regrout job. If tiles are already loose or hollow-sounding, consult a licensed tile contractor before attempting DIY repair — the substrate itself may need attention first.
For a comparison of how sealing and material choices affect longevity in related projects, see our guide to backsplash installation, which covers the full grouting phase in detail.
Mistakes That Undermine a Regrout Job
Regrouting is one of the more forgiving tile repairs a homeowner can tackle — but several common errors turn a straightforward project into a repeat job. Understanding them before you start is the most valuable preparation you can do.
Skipping full grout removal and applying new grout on top of old.
Why it happens: Removing grout feels tedious, and many homeowners assume a thin new layer will bond well enough to refresh the appearance.
Choosing the wrong grout type for the application — for example, using unsanded grout in wide joints or standard cement grout in wet, high-movement areas.
Why it happens: Grout packaging can be confusing, and many DIYers pick based on color rather than product specification.
Mixing grout too wet, producing a thin, weak consistency.
Why it happens: Thicker grout is harder to press into joints, so homeowners add extra water to make spreading easier.
Cleaning excess grout off tile surfaces too quickly or too aggressively before it has set.
Why it happens: Wet grout smears look alarming, so there's a natural urge to wipe immediately with a soaking-wet sponge.
Forgetting to seal grout after it has fully cured, especially in wet areas.
Why it happens: Many DIYers don't realize that standard cement-based grout is porous and will absorb water and stains without a sealer.
Don't Grout Over Existing Grout
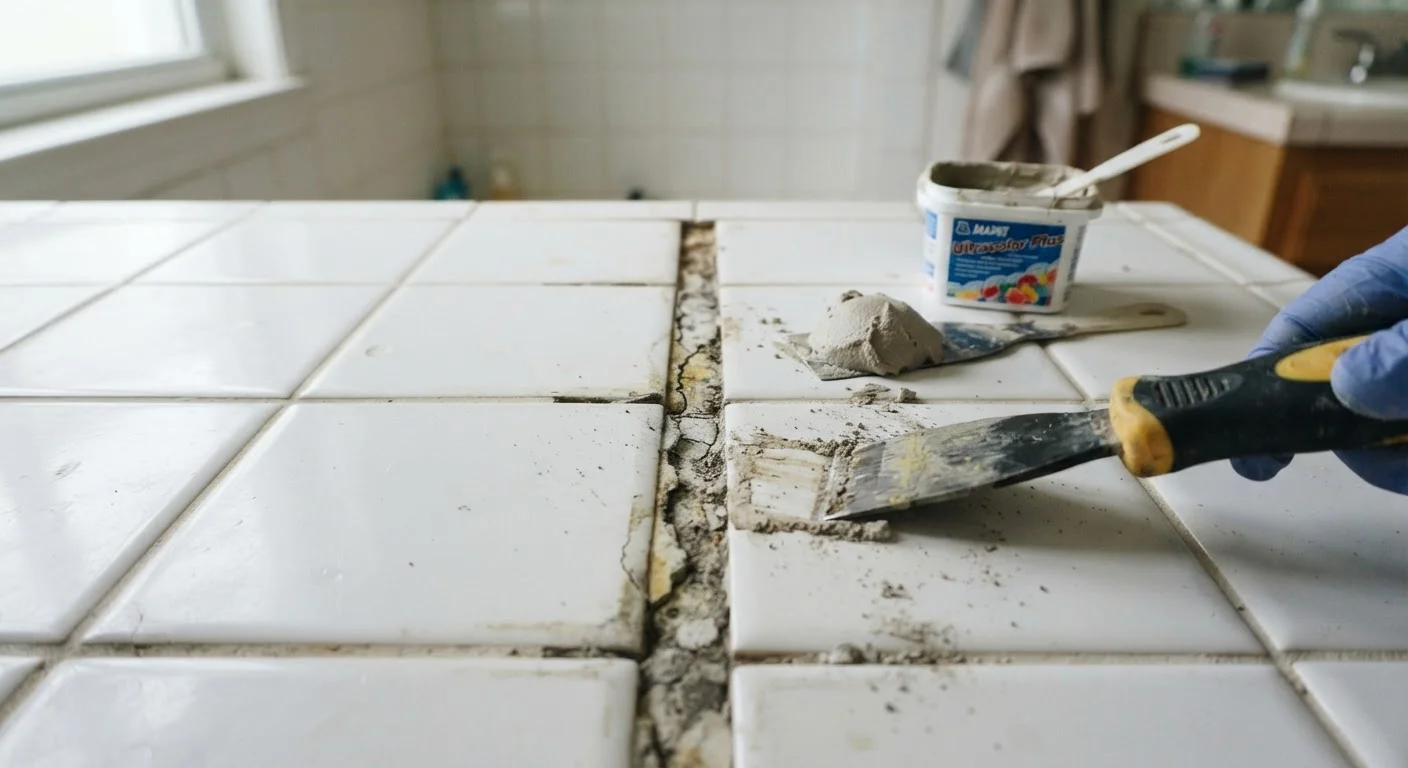
Applying fresh grout over old grout is a shortcut that almost always fails within months. The new layer has nothing solid to bond to and will crack, crumble, or pop out. Complete removal of the existing grout — at least to a depth of 2–3 mm — is necessary for the new application to hold.
The same attention to prep and material compatibility applies to other moisture-sealing projects around the home. Our article on caulking windows and doors correctly covers similar principles for exterior joints that see ongoing movement and weather exposure.
How to Regrout a Tiled Surface Step by Step
Once you understand what goes wrong, the correct process becomes straightforward. Gather your tools before you start: an oscillating tool or grout saw, vacuum, grout float, two buckets, a well-wrung sponge, and the appropriate grout type for your application.
- Remove the old grout to a depth of at least 2–3 mm using an oscillating multi-tool or manual grout saw. Work carefully near tile edges to avoid chipping.
- Clean the joints with a vacuum and a dry brush to remove all dust and debris. Any residue will compromise adhesion.
- Mix grout according to package directions to a stiff, uniform consistency. Let it slake (rest) for five minutes, then briefly re-stir before use.
- Apply grout diagonally across the joints with a rubber float, pressing firmly to fully pack each joint. Work in manageable sections of 10–15 square feet at a time.
- Clean the surface once the grout has firmed up, using a barely damp sponge with light strokes. Rinse and wring frequently.
- Allow full cure before exposing the surface to water — follow the product's specified timeline, not just the appearance of dryness.
- Seal the grout once fully cured using a penetrating sealer appropriate for your grout type and tile material.
2–3 mm
Minimum grout removal depth for rebonding
Tile industry guidelines generally recommend removing grout to this depth to ensure new material bonds to the substrate rather than failing old grout.
72 hrs
Typical minimum cure time before sealing
Most cement-based grout manufacturers specify at least 48–72 hours of curing before a penetrating sealer is applied in residential applications.
If your project extends to other surface updates, the techniques for careful prep and clean finishing described in our room painting guide apply the same philosophy: what you do before the visible step determines how long it lasts.