

Key Takeaways
Choosing the Right Approach for the Hole Size
Drywall damage falls into three general categories, and matching your technique to the damage size saves time and avoids wasted materials.
- Small scuffs and nail pops (under ½ inch): A single application of lightweight spackle, dried and sanded smooth, is all you need. These repairs take under 20 minutes of active work.
- Medium holes (½ inch to about 4 inches): Self-adhesive mesh patches backed by joint compound handle this range well. The mesh gives the compound something to grip so it doesn't sag into the void.
- Large holes (4 inches to roughly fist-sized): A California patch — a piece of drywall held in place by a wood or metal backer strip — is the most reliable method. It creates a solid substrate so the repair holds up long-term.
Before you start any repair, press gently around the damaged area to check for soft spots that might signal underlying moisture damage. If you find soft or crumbling drywall beyond the visible hole, address the moisture source first and let the wall dry fully. A cosmetic patch over damp drywall will fail.
What you will need
Tools and Materials You'll Need
Gathering everything before you start prevents mid-repair trips to the hardware store. Most of these items are reusable across future projects.
Putty knife or drywall knife (6-inch and 10-inch)
Applies and feathers joint compound across the repair and surrounding wall surface.
Lightweight spackle
Fills small nail holes and scuffs up to about ½ inch without requiring mesh or backing.
Pre-mixed all-purpose joint compound
Builds up layers over mesh patches and California patches for medium to large holes.
Self-adhesive fiberglass mesh patch
Bridges medium-sized holes and gives joint compound a rigid surface to bond to.
1×3 or 1×4 wood furring strips
Acts as backer for large California-style patches, holding the replacement drywall piece in place.
Sandpaper (120-grit and 220-grit)
Smooths dried compound between coats and achieves a flush, paint-ready surface.
Drywall primer
Seals the porous compound before painting so the finish coat absorbs evenly.
Drywall screws and scrap drywall piece
Required only for large hole repairs using the California patch method.
One note on joint compound: pre-mixed "all-purpose" compound works well for most patch repairs. Avoid using setting-type (powder) compound for finish coats — it is harder to sand smooth and less forgiving for beginners.
Step-by-Step Repair Instructions
Follow the steps below in order. The process is the same across hole sizes; what changes is the first two steps, where you build your substrate.
Prepare the damaged area
For small holes, use a putty knife to scrape away any loose paper or crumbled gypsum until the edges are firm. For medium holes, trim any torn paper flaps with a utility knife so edges are clean and flat. For large holes, use a drywall saw to cut the damage into a clean rectangle — straight edges make fitting a patch piece much easier.
Install backing or patch material
Small holes: No backing needed — proceed directly to applying spackle.
Medium holes (½ inch to 4 inches): Peel and stick a self-adhesive fiberglass mesh patch centered over the hole, pressing firmly so all edges adhere to the surrounding wall.
Large holes: Insert two wood furring strips into the hole opening and hold them against the back of the surrounding drywall while driving screws through the wall face to anchor them. Cut a drywall piece to fit the opening and screw it to the furring strips. Apply drywall tape over the seams and bed it into a thin layer of joint compound.
Apply the first coat of compound
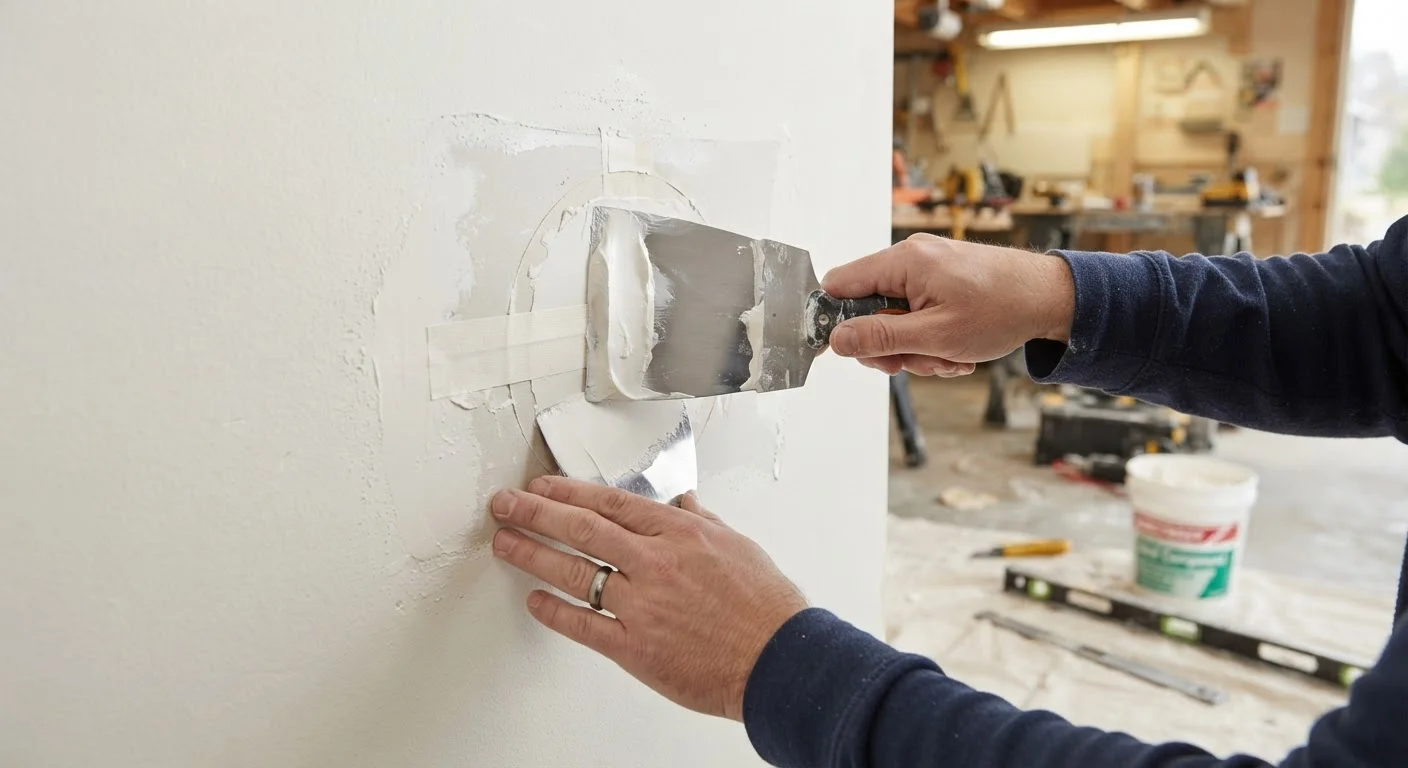
Load your 6-inch knife and spread a thin, even layer of joint compound over the mesh, patch seams, or small hole. Press firmly so compound fills the void and bonds to the substrate. Feather the edges outward at least 2–3 inches beyond the repair. For small holes with spackle, slightly overfill — it shrinks as it dries.
Let it dry completely, then sand lightly
Drying time varies with humidity and coat thickness — joint compound typically needs at least 4–6 hours per coat, often longer in humid conditions. The compound must be uniformly white (not gray or translucent) before sanding. Sand lightly with 120-grit paper to knock down ridges, then wipe away dust with a slightly damp cloth.
Apply second (and third) coats
Switch to your 10-inch knife for subsequent coats and extend the compound 6–8 inches beyond the repair perimeter. Each coat should be thinner than the last — you're filling in low spots and feathering edges, not building height. Most repairs need two finish coats after the first. Let each coat dry fully and sand between coats.
Final sand and prime
Once the final coat is dry, finish with 220-grit sandpaper for a smooth surface. Run your hand across the repair — it should feel flush with no detectable edge. Wipe away all dust, then apply a coat of drywall primer to the entire patched area. Allow primer to dry per the manufacturer's label before painting.
Once the final coat is sanded and primed, you're ready to paint. For best results, review the prep and priming details in our guide to painting a room — properly primed patches are less likely to show telegraphing (visible outlines) through the finish coat.
Texture Matching and Final Touches
A smooth patch on a textured wall will stand out even after painting. Matching the existing texture is the detail that separates a professional-looking repair from an obvious one.
- Smooth walls: No texture work needed — focus on feathering compound edges at least 6–8 inches beyond the repair perimeter and sanding progressively from 120-grit to 220-grit.
- Orange peel texture: Lightly dilute joint compound and apply with a sponge or roller, then let it partially set before pressing gently with a plastic bag to create the peel effect. Practice on cardboard first.
- Knock-down texture: Apply small, random dollops of thinned compound with a sponge, let them set slightly, then lightly flatten the tops with a trowel held nearly parallel to the wall.
- Popcorn (acoustic) ceilings: Popcorn ceilings often contain materials that require testing before disturbance. Consult a qualified professional before attempting repairs on popcorn ceilings in homes built before 1980.
Popcorn Ceilings and Pre-1980 Homes
Popcorn (acoustic) ceiling texture applied before 1980 may contain asbestos. Disturbing this material without proper testing and professional abatement can create a serious health hazard. Have the material tested by a certified professional before attempting any repair or removal in older homes.
After texture work has dried, apply a coat of drywall primer before painting. This seals the porous compound and ensures your finish paint covers evenly. Skipping primer is one of the most common reasons patches remain visible after painting. If you've also noticed gaps along window or door casings nearby, proper caulking technique is a natural next step to tighten up the room.
Keep Leftover Compound Fresh
Pre-mixed joint compound dries out quickly once opened. Press plastic wrap directly onto the compound surface before replacing the lid, and store the container upside down to create an airtight seal. Stored this way, opened compound typically stays workable for several weeks.