

Key Takeaways
Why a Systematic Approach Matters
Buying a used vehicle involves more unknowns than any new-car purchase, and the stakes are real - for your family's safety and your budget. A structured inspection process is what separates buyers who discover problems after signing from those who avoid them entirely. Whether you're buying from a private seller or a dealership lot, the same disciplined approach applies. For a broader look at how used and new vehicles compare as a purchase decision, see our guide to weighing new vs. used trade-offs for families.
This walkthrough follows a logical sequence - starting with information you can gather before the meeting, moving through the physical inspection, and ending with a test drive and professional assessment. Each stage is designed to surface specific categories of risk so you enter any negotiation with clear, documented evidence rather than a general impression.
What you will need
What to Bring and How to Prepare
Preparation before you show up dramatically increases what you can learn during the inspection. Run the VIN history report in advance so you're not processing new information for the first time in front of the seller. Bring the tools below, and allow enough time to work through each stage without feeling rushed. If you're newer to the car-buying process overall, the first-time buyer's comprehensive guide provides useful broader context.
Flashlight
Illuminate the undercarriage, engine bay, and tight panel seams where rust or damage can hide.
Vehicle History Report
Reveal prior accidents, title issues, odometer discrepancies, and service records tied to the VIN.
Magnet
Detect body filler (Bondo) used to repair collision damage beneath the paint - a magnet won't stick to filler.
OBD-II Scanner
Read any stored diagnostic trouble codes from the car's onboard computer, flagging hidden mechanical issues.
Pre-Purchase Inspection (Independent Mechanic)
Provide a professional, unbiased mechanical assessment of the vehicle before you commit to a price.
The Inspection Steps
Follow each step in sequence. Skipping ahead to the test drive before completing the exterior and interior checks means you may miss the context needed to interpret what you feel and hear on the road.
Run the VIN history report before you meet
Before spending time on a physical inspection, pull a vehicle history report using the VIN the seller provides. Look for accident disclosures, title brands (salvage, rebuilt, flood), odometer rollbacks, and the number of previous owners. A clean report doesn't guarantee a perfect car, but a problematic one can save you a wasted trip - and gives you immediate negotiating context.
Inspect the exterior in natural daylight
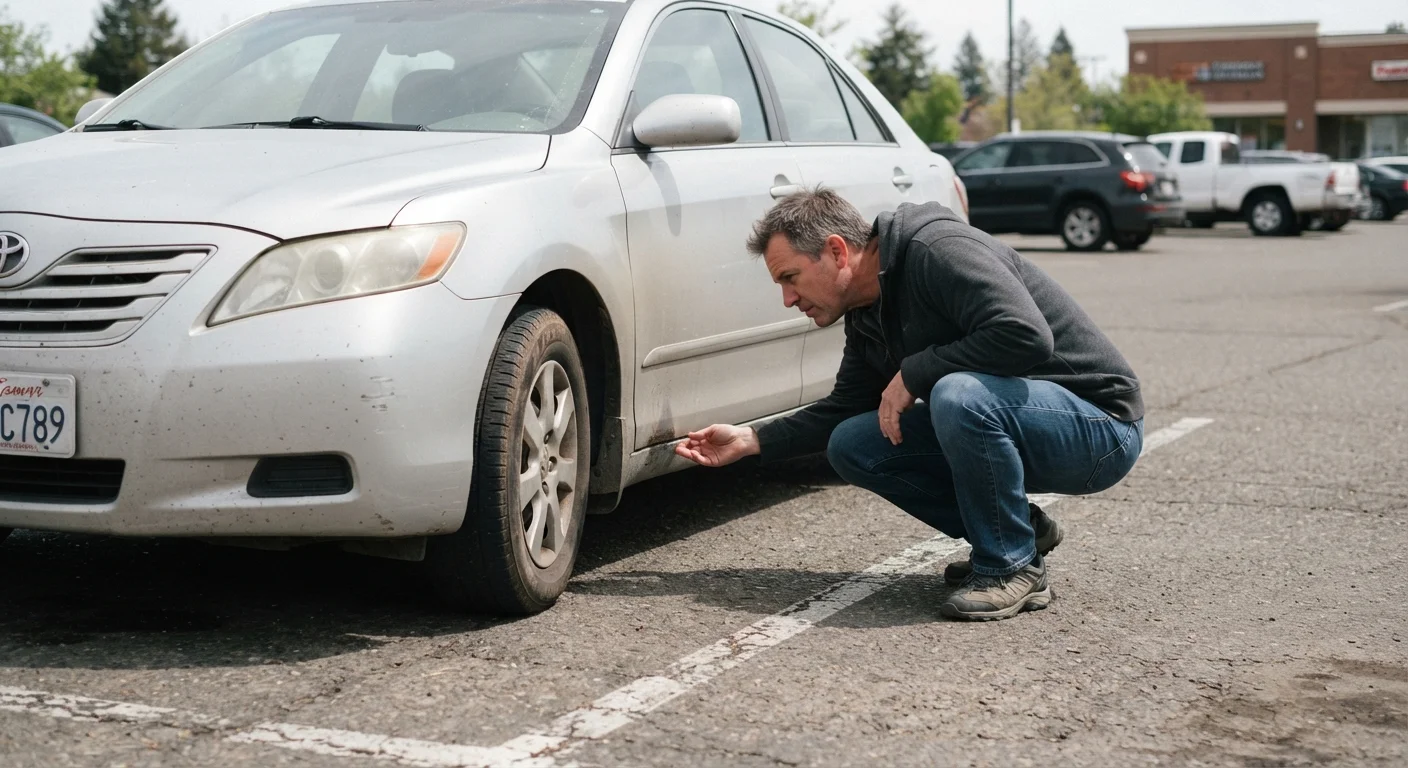
Always view a used car outdoors in good light - artificial lighting in a garage or showroom can conceal paint imperfections. Walk the entire perimeter slowly, looking for:
- Panel gaps: Uneven spacing between doors, hood, and trunk lids often signals a prior structural repair.
- Paint mismatch: Slight color variation between panels suggests repainting after damage.
- Rust: Check wheel arches, rocker panels, and the underside of doors - surface rust is manageable, but structural rust is a red flag.
- Dents and creases: Note every one; photograph them for later reference.
Run a small magnet along body panels if you suspect filler has been used to smooth collision damage.
Examine the engine bay and fluid levels
Open the hood with the engine cold if possible. Check each fluid reservoir - engine oil, coolant, brake fluid, and power steering fluid where applicable. Oil that looks very dark and gritty, or coolant that appears brown or oily, may point to maintenance neglect or a head gasket concern. Look for:
- Fresh oil or coolant residue around hoses and gaskets, which can indicate active leaks
- Corrosion on battery terminals or around connectors
- Hoses and belts that appear cracked, brittle, or soft
- Any evidence of recent repairs - clean patches on an otherwise dirty engine can indicate targeted cleanup around a problem area
Inspect the interior thoroughly
Step inside and assess all four seating positions, not just the driver's seat. Check for:
- Unusual odors (mold or mildew can signal water intrusion; a heavy air freshener may be masking something)
- Staining or discoloration on carpets, headliner, or seat seams consistent with flooding
- Wear on pedal rubbers, the steering wheel, and driver's seat that seems inconsistent with the stated mileage
- Full function of all controls: windows, locks, HVAC, infotainment, and safety features like backup cameras and lane alerts
Check every seatbelt for smooth retraction and secure latching. Confirm warning lights extinguish after starting the engine.
Conduct a structured test drive
A test drive is not a formality - plan for at least 20-30 minutes covering city streets, a highway stretch, and ideally a route with some turns and stops. During the drive, systematically assess:
- Cold start behavior: Any rough idle, smoke from the exhaust, or hesitation on startup warrants attention.
- Braking: Apply firm, even pressure - the car should stop straight without pulling, vibrating, or making grinding noises.
- Steering: Note any looseness, vibration through the wheel, or resistance when turning.
- Transmission: Gear changes (automatic or manual) should be smooth and prompt. Shuddering, slipping, or delayed engagement are warning signs.
- Road noise and vibration: Excessive noise at highway speed can indicate tire, wheel bearing, or suspension issues.
Arrange an independent pre-purchase inspection
Even after a diligent personal inspection, a qualified mechanic brings diagnostic tools and trained eyes that most buyers simply cannot replicate. Before finalizing any price negotiation, ask to have the car inspected at an independent shop of your choosing - not one recommended by the seller. The inspection typically covers the suspension, drivetrain, brakes, exhaust, and a lift for a full undercarriage review. The cost is modest relative to the purchase price and can either confirm the car's condition or surface issues that change your offer entirely.
Compile your findings and determine your offer
With your notes, photos, inspection report, and VIN history in hand, you now have an evidence-based view of the vehicle's actual condition. Use what you've found to distinguish between cosmetic issues (which affect aesthetics but not safety), maintenance items (upcoming known costs), and mechanical concerns (which may justify a lower offer or walking away). Reference publicly available valuation resources to understand what comparable vehicles in similar condition are actually selling for in your region. Your offer should reflect documented reality - not wishful thinking on either side.
Take Photos Throughout
Photograph every issue you find - paint chips, panel gaps, fluid stains, interior wear - with timestamps. These images serve as a reference during negotiation and protect you if disclosures become disputed later. A simple phone camera is entirely sufficient.
After the Inspection: Next Steps
Once you've worked through the inspection and received a mechanic's report, you're equipped to make an informed offer. Document all identified issues in writing - this protects you and creates a clear record if the seller later disputes what was disclosed. If the seller is a private individual, understand that consumer protections differ from a dealership transaction; our comparison of private vs. dealership purchases outlines the key differences. When you're ready to move from offer to paperwork, review our pre-signing checklist to ensure nothing gets missed at the final stage.
Pressure to Decide Quickly Is a Warning Sign
Legitimate sellers - private or commercial - will accommodate a reasonable inspection timeline. If you're told another buyer is arriving imminently, or that the price is only valid today, treat that as a pressure tactic rather than genuine urgency. Decisions made under artificial time pressure are more likely to be ones you regret.